colour_my_love | Blender to SFM | Valve Biped Names | Custom Blender Nodes
Porting from Blender to Source Film Maker
So you’ve made an amazing model in blender, now you want to use it in SFM. Very quickly you may have realised that it isn’t as straight forward as pressing “export” and then just loading it up in SFM.
In this guide I aim to show you how to get your model from Blender to Source!
If you are having issues at any point in time, you can download my CanMan.blend and SMDs+QC here.
To begin, you are going to need a few tools:
- Blender
- Blender Source Tools
- A Source game, in this case we are using SFM however Half Life 2 and many other will work too
- Crowbar (I used version 0.30.0.0, if you have issue make sure you are using this version)
- VTFEdit
Quick note: high poly count models are going to be hard to port!
Setting up the folders
Create a new folder somewhere, doesn’t matter where or what it’s called (call it “blendersfm” if you like) and then make another folder inside that called “export”.
Drop both your model and all relevant textures inside the “blendersfm” folder. I have my CanMan Blender file and Texture.png in mine

Save the Blender Source Tools zip file into your “blendersfm” folder for easy access
Creating a Source compatible model
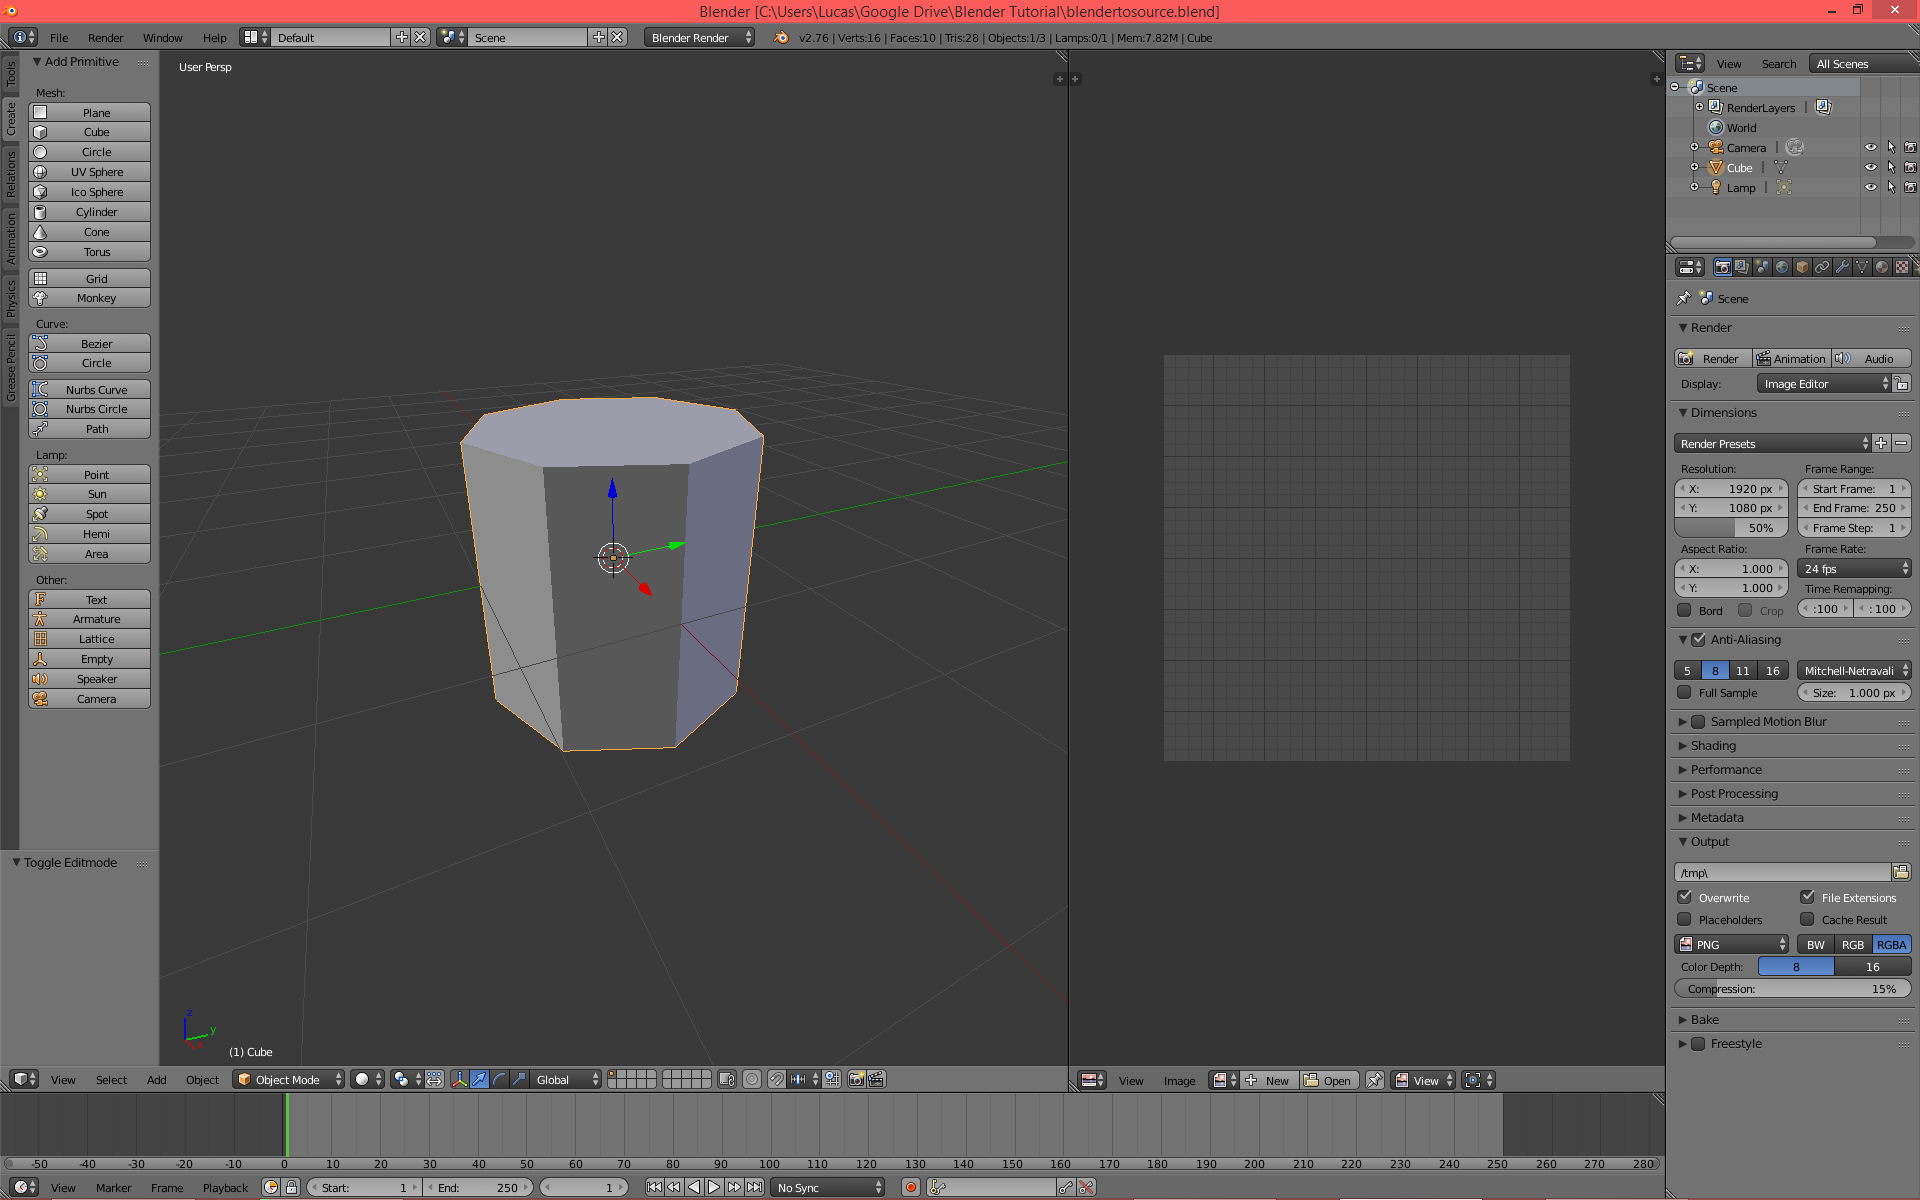
For this demo I’ll be making a man made out of cans. Here you can see I have created a cylinder
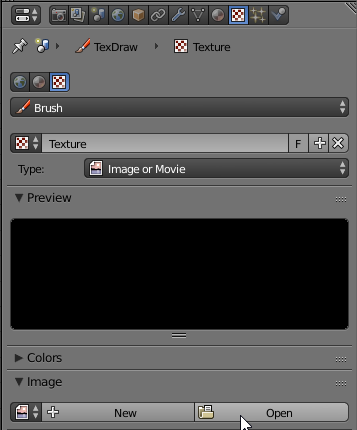
Go to the show options menu for this cylinder and select “Open” under “Image”
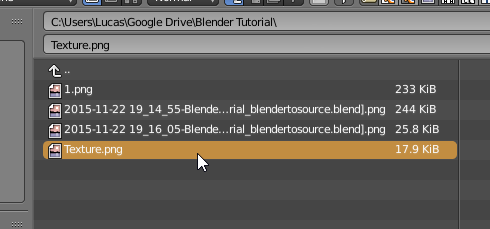
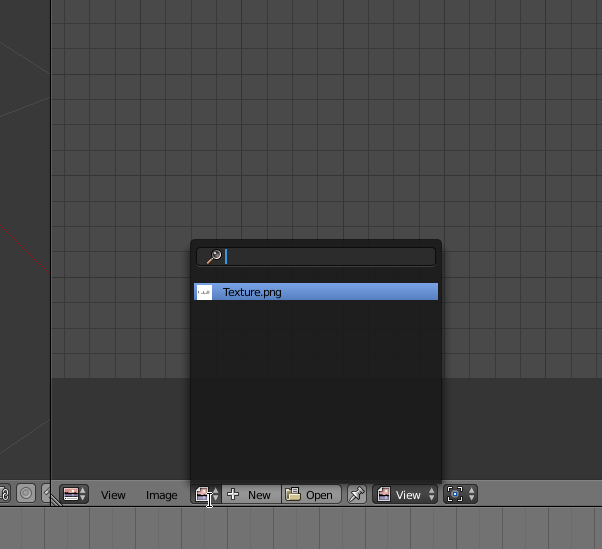
Select the texture for your model, in this case it’s “Texture.png”
This is what you should now see in the materials tab
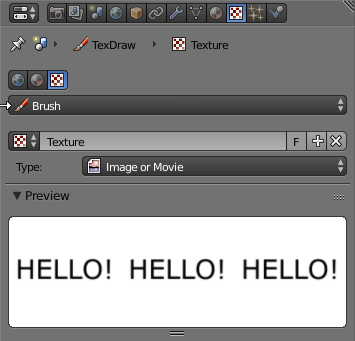
Select the other texture option (uses the “materials” icon) in the texture tab and ensure that the loaded “Texture” is set as the default
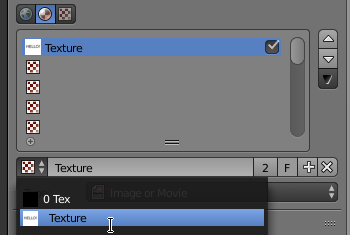
Head over to the materials tab and rename the default material for your object to the same as the texture we were using before (not case sensitive but I would still recommend you keep your capitalisations constant throughout everything)

In the UV/Image Editor window open up the file we loaded before (“Texture.png” in this case)
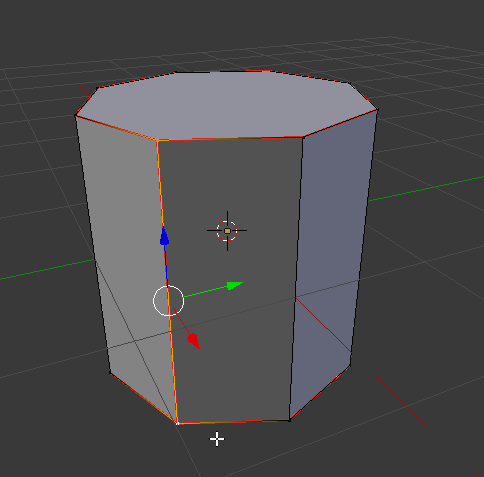
In edit mode in the 3D viewer, you'll want to use CTRL+E to mark seams around the top and bottom faces and on one of the vertical lines (as shown)
Then select all verts (A) and press U->Unwrap
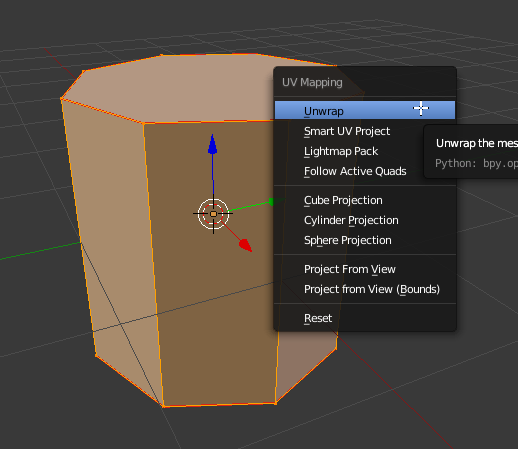
You should now see you mesh unwrapped over the texture sheet we opened
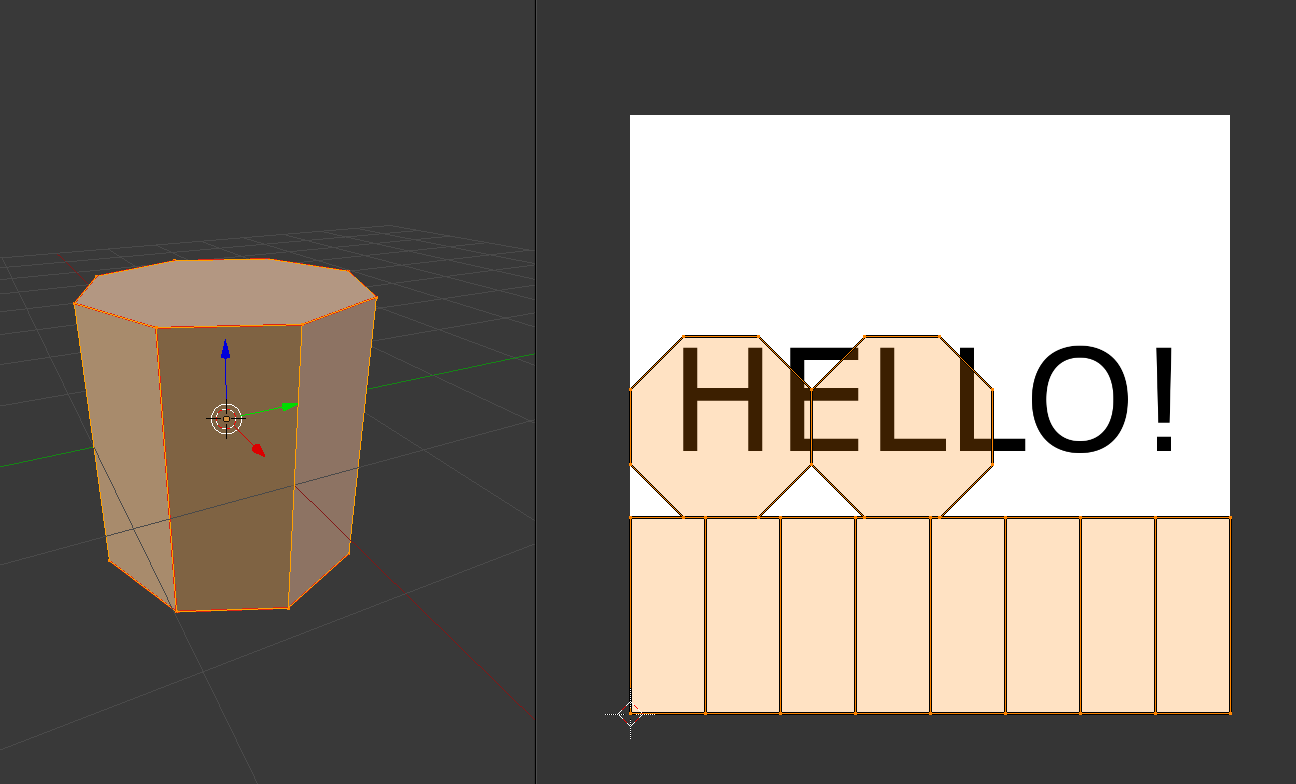
Re adjust as needed
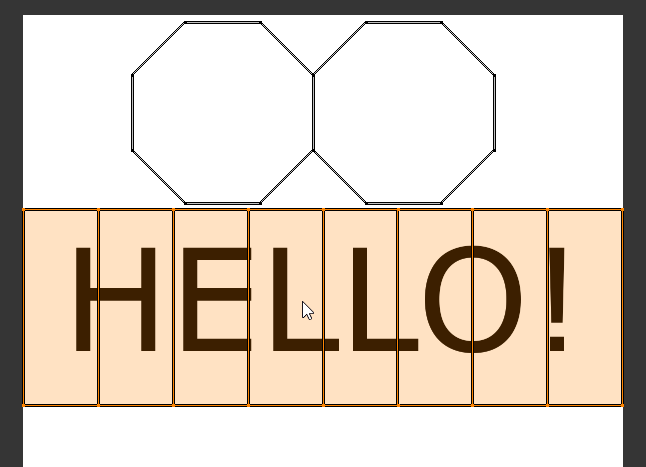
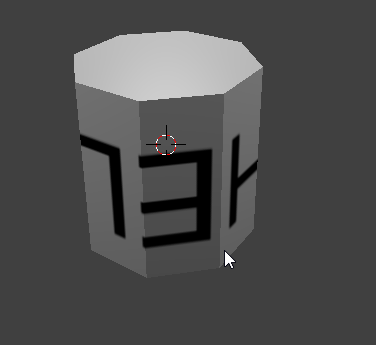
In “Material” or “Texture” mode your model should now have a texture!
I duplicated the can with SHIFT+D a few times to make a person shape (in “Object” mode)
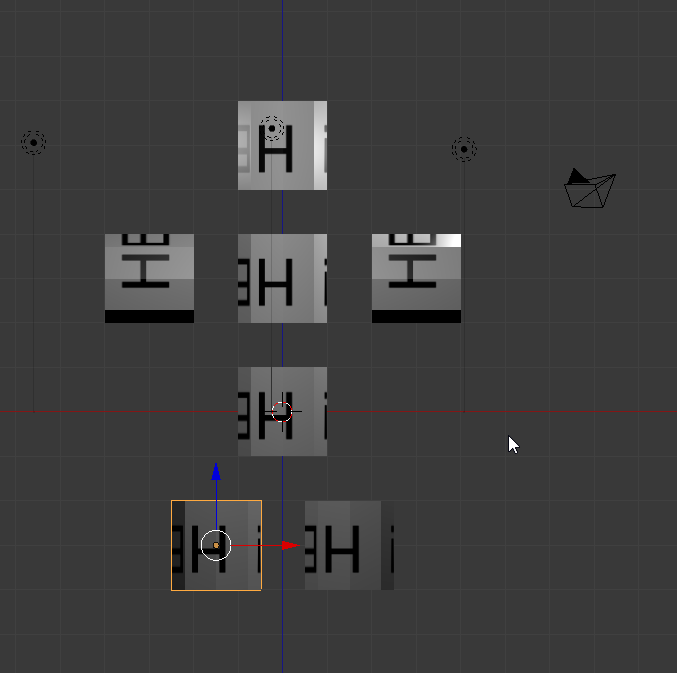
I then added an armature to him, if you already have an armature then you need to make sure you are using the correct names for the bones, check the names here

Make sure you have “X-Ray” and “X-Axis Mirror” turned on
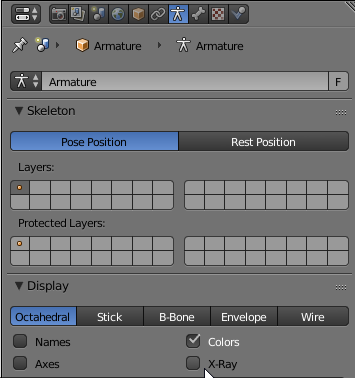
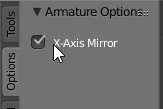
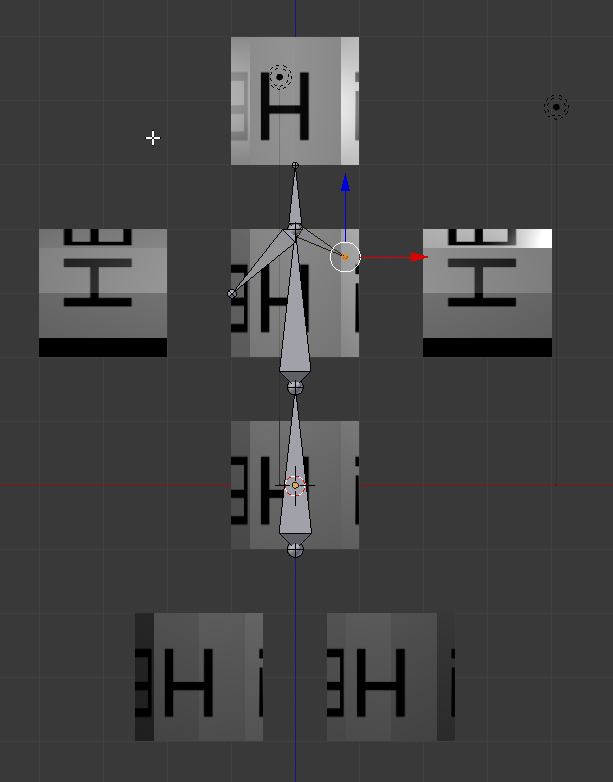
When the arms are first extruded they will not mirror, this is fine.
You can rename the bones by clicking on them and going to this menu

At this point you may want to start using the correct names, do note however that the ValveBiped names wont allow the mirror function to work properly!
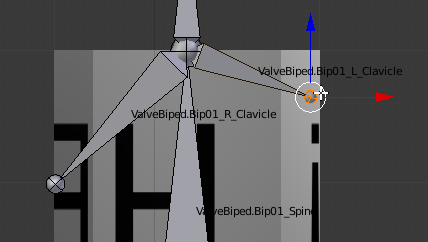
To get around this issue, you can name them as shown and rename them to the correct names once the rig is finished.
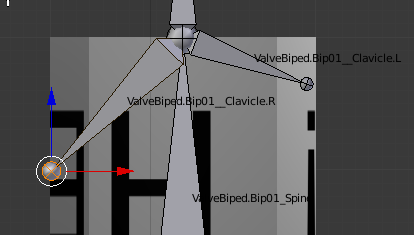
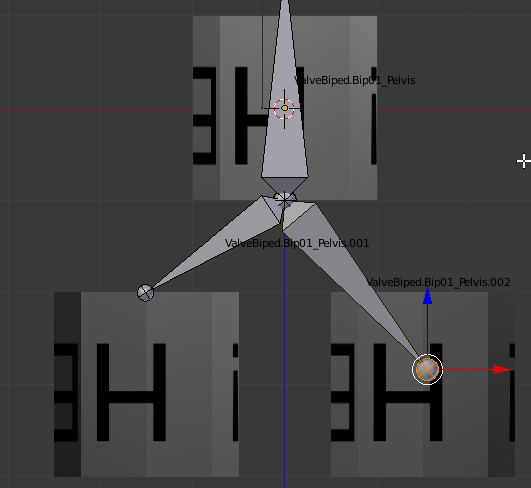
Same goes for the legs
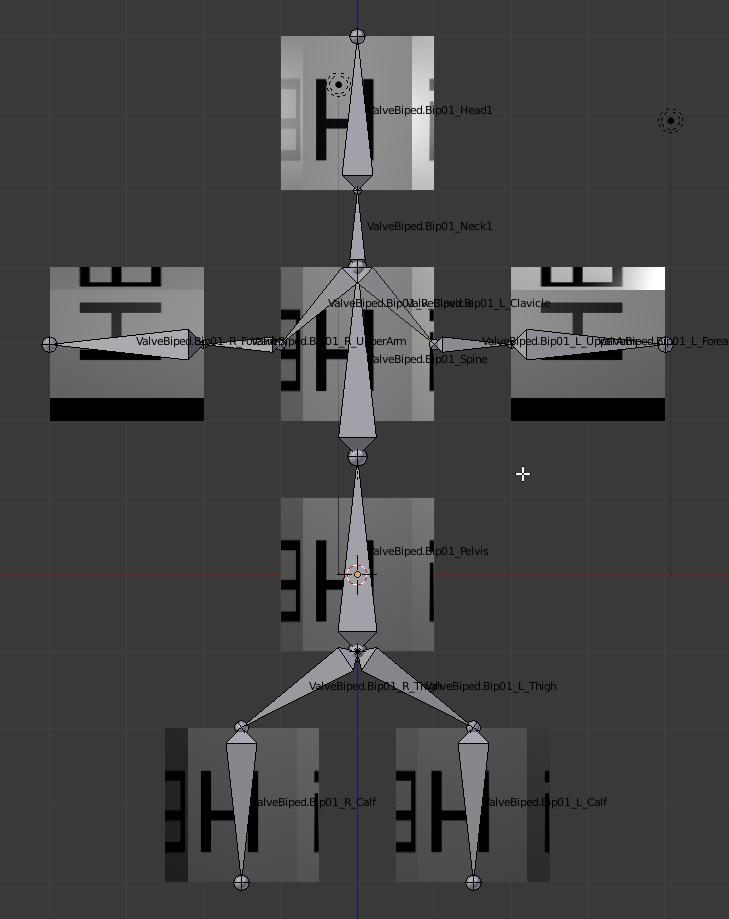
Finished rig
Now you need to parent the objects (cans) to their corresponding bones! Select a can, then SHIFT select a bone (rig must be in “Pose” mode before you can do this)
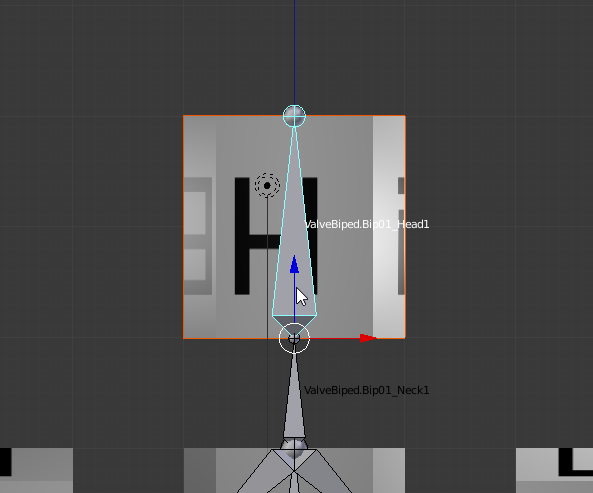
Pressing CTRL+P will bring up the parenting menu, make sure to select “Bone” (this will work for most FNaF models where the model isn’t a single mesh)
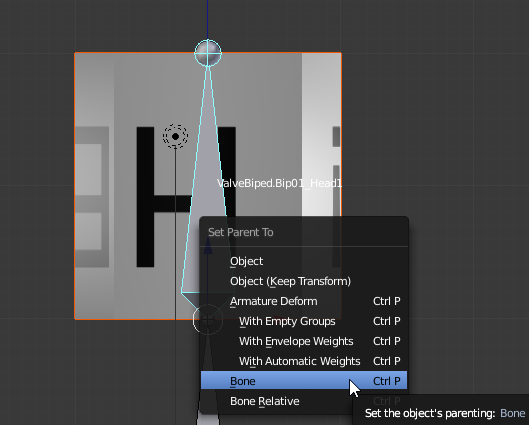
Make sure to deselect the bones as you go! (See how “Head” is still selected)
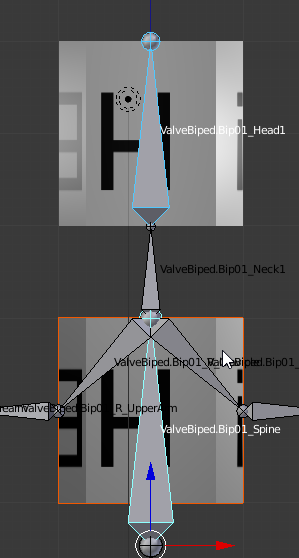
Once you have finished that, all the objects should be children of the armature
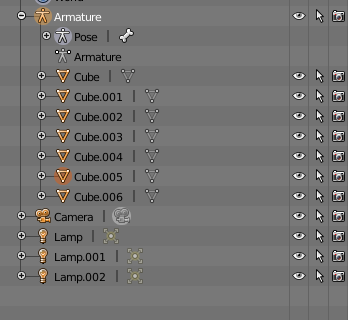
Now would be a good time to rename all the objects (I forgot to rename Cube to Pelvis here, doesn’t really matter what you call it)
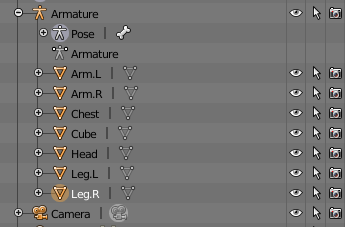
Exporting from Blender
Select all of the bones of the armature while it is in “Pose” mode
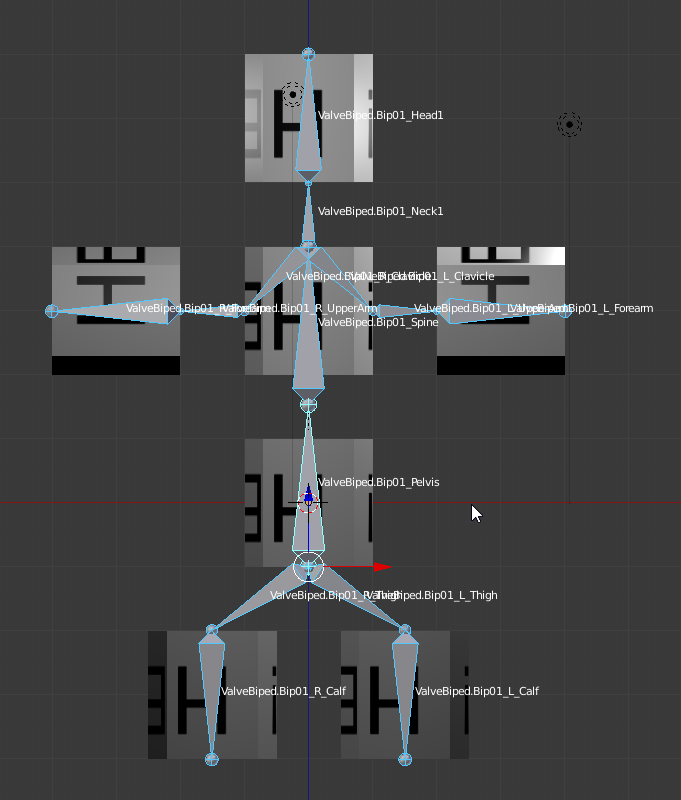
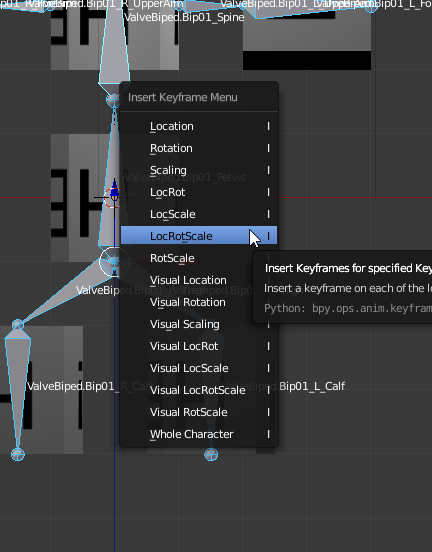
Press I (Insert Keyframe) and select LocRotScale (Location, Rotation, Scale). This should add a keyframe to your model (necessary for exporting)
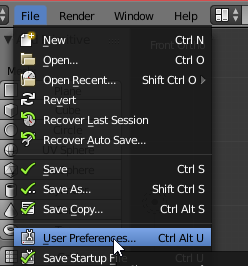
Now you are going to want to install the Blender to Source exporter plug in. Go to File->User Preferences
Go to the “Add-ons” tab and click “Install from File”
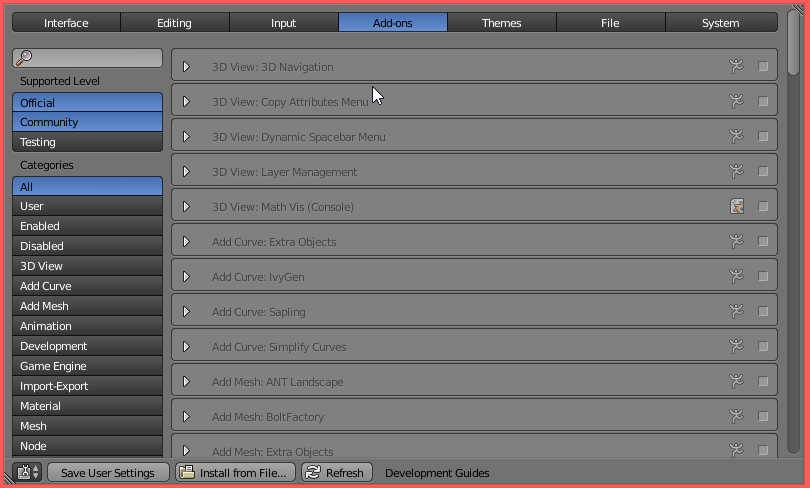

Open the Blender Source Tools zip that you downloaded before

Searching for “Source” in the “Add-ons” tab should now bring up “Import-Export: Blender Source Tools”

Select the tick box next to it (may take a while to load, bare with it)

Save and close the preferences

You should now be able to see the “Source Engine Export” and “Source Engine Exportables” property menus under the “Scene” properties tab
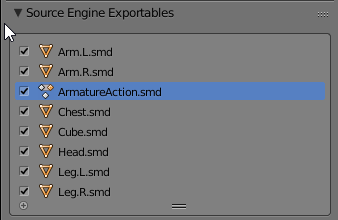
Select the “SMD” option
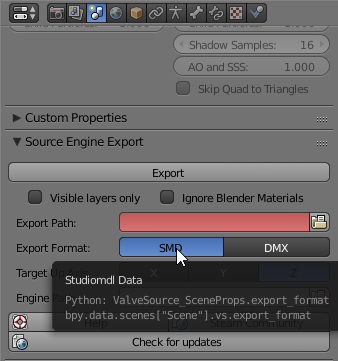
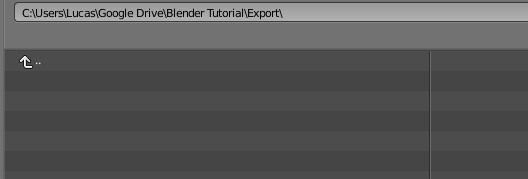
Change the “Export Path” to the “Export” folder we made earlier


Leave “Engine Path” blank

Your properties should now look something like this. Change the “Subfolder” property to “anims” (not sure if this is required, as I don’t remember actually doing it, but the anims folder will be important later)
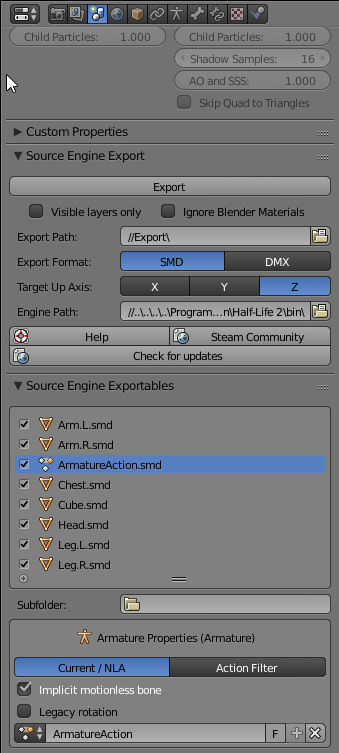
Now hit “Export” and choose “Scene export (n files)”
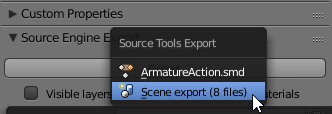
If you were successful you should see this little box show up in the top bar of Blender, if not it will tell you what went wrong

Your “Export” folder should now look like this (note the anims folder!)

Source Model Files
NOTE: USE NOTEPAD++, NOT WINDOWS NOTEPAD. ALSO; WINDOWS SHOULD NOT RECOGNISE THIS FILE AS A “Text Document”, IF IT DOES THEN YOU HAVEN’T RENAMED IT CORRECTLY. IT SHOULD APPEAR AS A “QC File”
Now you need to make a new file called “My-Models-Name.qc” (make a new .txt file and rename it)

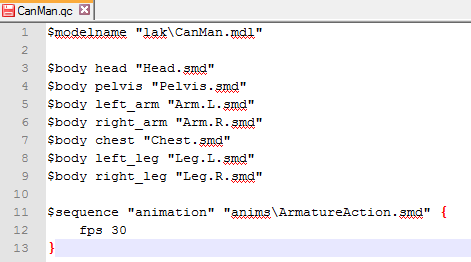
Then you need to edit this file, adding the following:
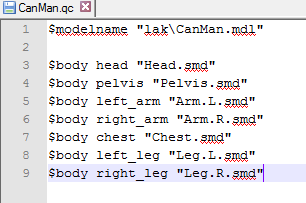
$modelname “” defines the location the model will be saved in and the name of the model. eg: $modelname “yourname\My-Models-Name.mdl” (same name used for the QC file!)
$body defines all the parts of the model, like the arms and legs etc. The names you give them don’t have to follow any rules, but make sure it is human readable with no spaces. the file in “quotations.smd” is the file name of the file in you “Export” folder
Note: these can become quite large for models with a large number of objects
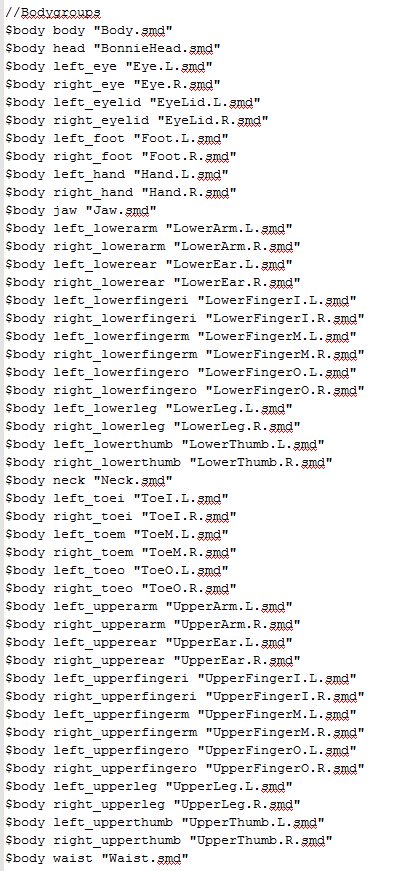
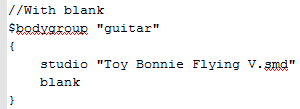
If you want certain parts of the model to be optional, then consider using this method (the user has the option between either “Toy Bonnie Flying V.smd” or “blank”)
The next thing that you NEED is $sequence “” “” {}
The first name (“animation”) is the name of the animation, the second (“anims\ArmatureAction.smd”) is the location of the animation file, finally the fps is required in the curly braces.
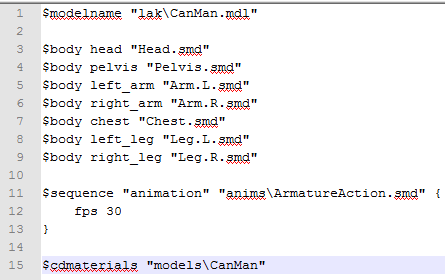
Final thing you need is the materials location, $cdmaterials “”
The root directory for this changes per game, however in SFM it is in “Usermod/materials”, so don’t worry about including that directory!
You can rename “CanMan” here to anything you want, your name or the models name, doesn’t matter
Source Textures
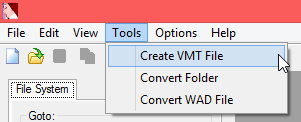
In VTFEdit you need to go to Tools->Create VMT File
This window should appear, fill it out as shown (“Base Texture 1: models/CanMan/texture” and “VertexlitGeneric”)
If your model uses more that one texture sheet, you are going to need a different VMT for each (change “models/yourmodel/texturename” as required)
The texture location will ALWAYS be “models/somefolders/texturename”. DO NOT MAKE IT ANYTHING ELSE!
NOTE: The texture files referenced here don’t actually exist yet! You must type in the file name manually, do NOT browse for them!
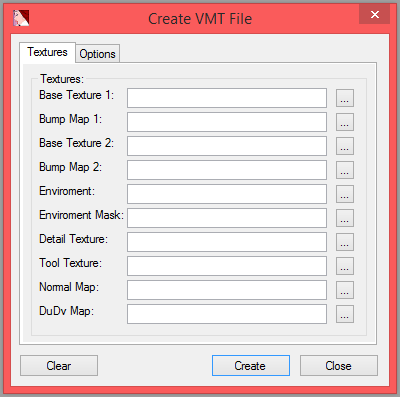
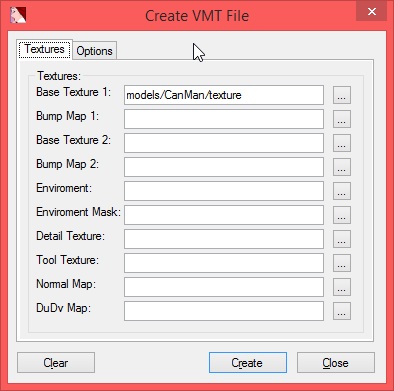
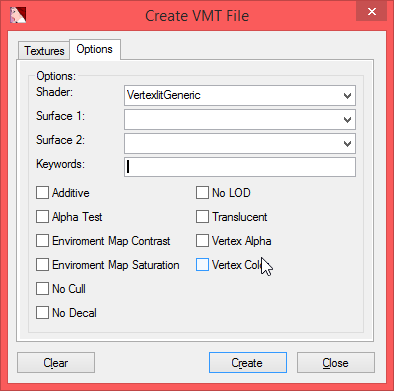
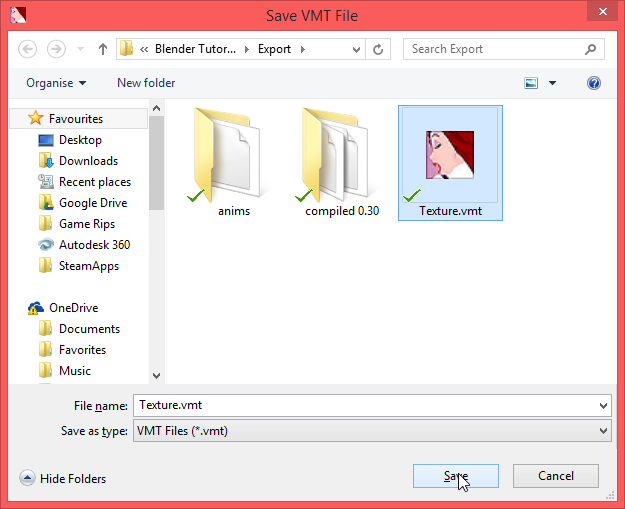
Save this in the “Export” folder with the same name as the texture sheet (eg lol.vmt for lol.png or lmao.vmt for lmao.bmp)
If you attempt to open the file you just made it should look like this!

Your “Export” folder should now look like this. Now you need to “Import” (NOT “Open”) the “Texture.png” into VTFEdit (File->Import)
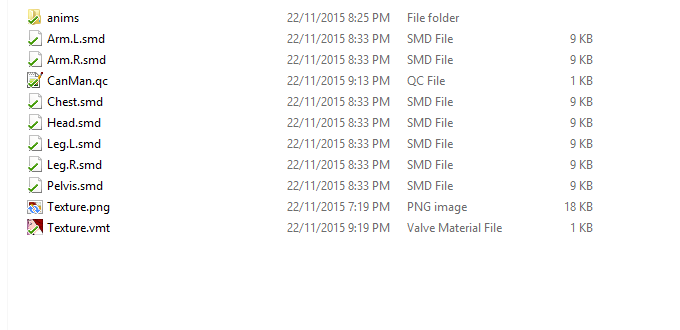
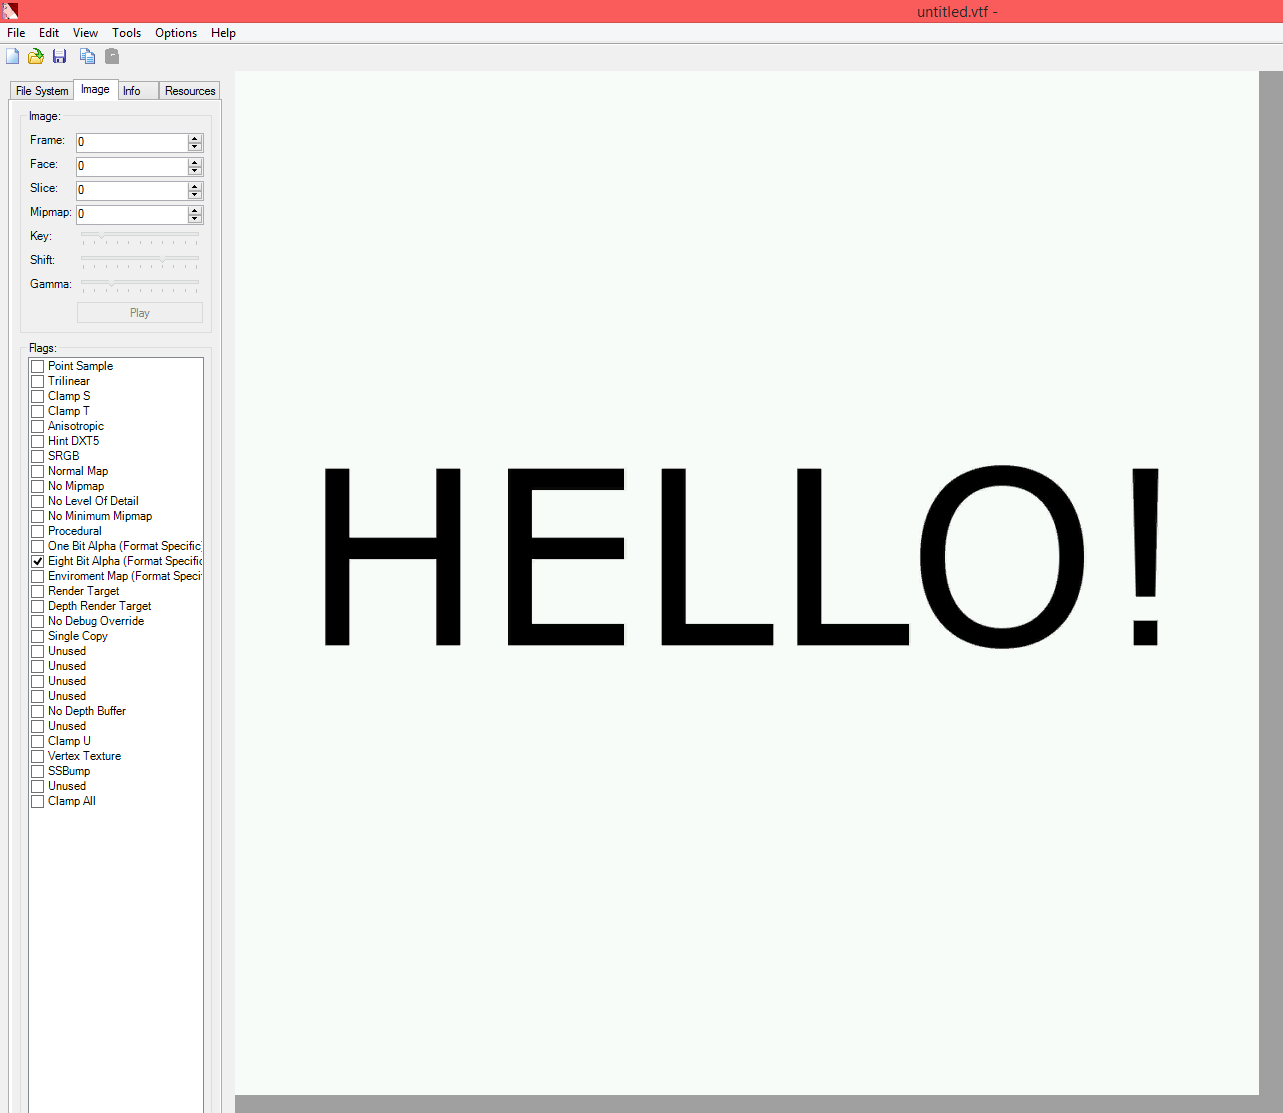
Then just hit “Save As” (File->Save As) and save it as “Texture.vtf”
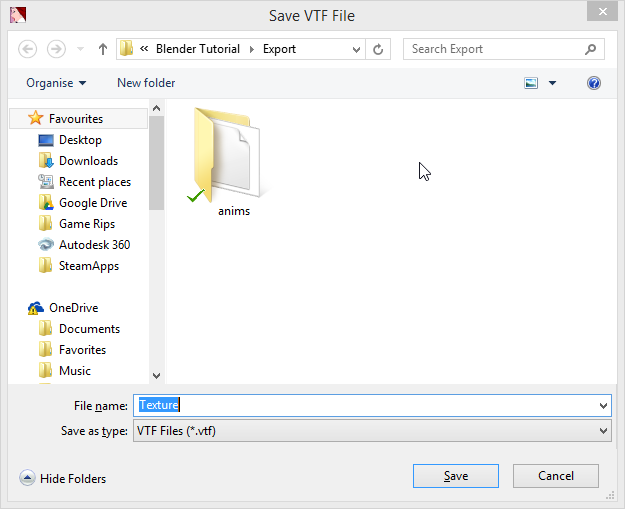
You should now have these three texture files. You can go ahead and remove your “Texture.png” files from “Export” if you wish (if you moved them into there), we only need the vmt and vtf

Compiling for Source
Open up Crowbar and locate your QC file in the “Compile” tab

Set your settings like this (check “Output Folder” and set “Subfolder” to “compiled”, select “Source Filmmaker” for “Game that has the model compiler”)

Hit compile and if you have done everything right, you should see no errors and get this message!

Below the message box you should see this, click on “Use in View”

This opens up the “View” tab with the model you just compiled. Hit “View” and see what happens
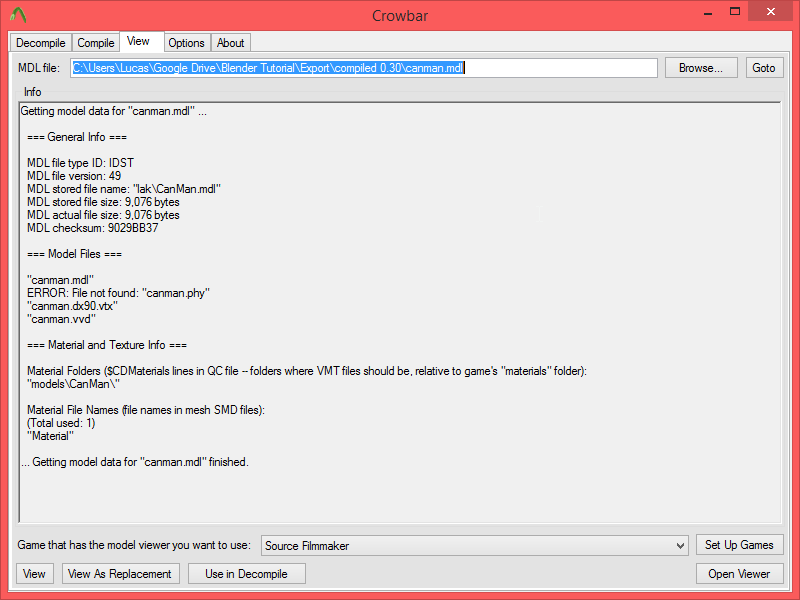
Uh-oh! Don’t worry, this is just because we need to move the model into the SFM source files
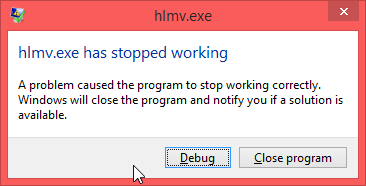
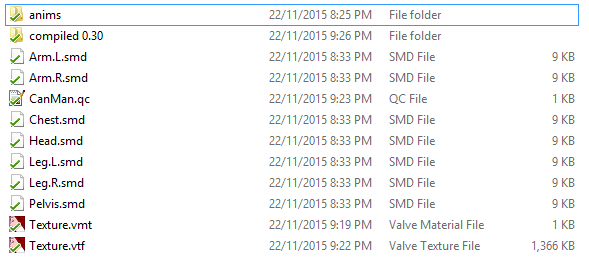
Copy the files from the “compiled” folder to the usermod\models\yourname folder and the texture files to usermod\materials\models\thenameyoudefinedintheQC


Open up Crowbar again and change the “MDL File” to the one you just put in the SFM files (eg “canman.mdl”). Hit “View” and see what happens this time
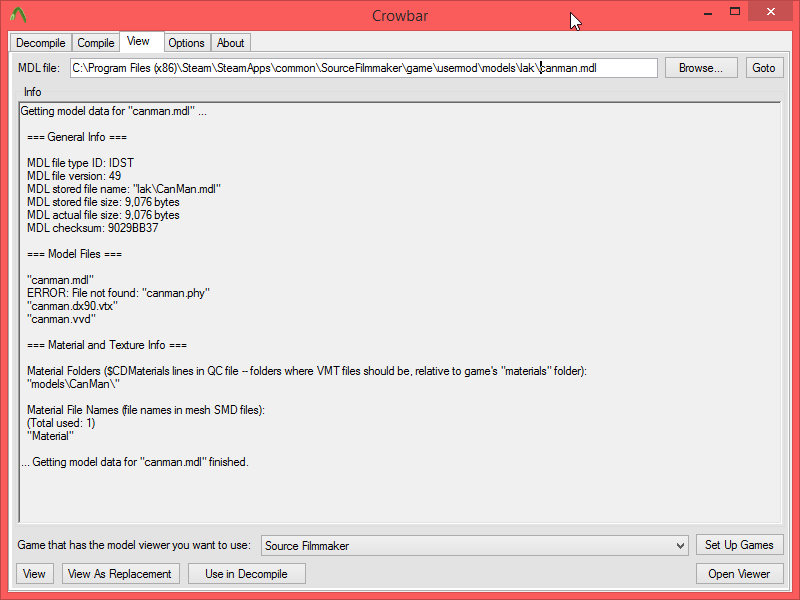
TADA! You model is now ready to be used in SFM! (It’s even in the right location, all you gotta do is just fire up SFM!)
